Ever wanted to show your local application to a client or test it on different devices without deploying? Ngrok is the perfect tool for this. It creates secure tunnels that make your localhost accessible from anywhere on the internet.
What is Ngrok?
Ngrok is a widely-used tool for creating secure links that let you share your local applications on the internet. It’s especially useful for:
- Testing web apps on different devices
- Showing your work to clients and colleagues
- Accessing your local application from anywhere
Core Features
Secure Tunnels: Ngrok establishes secure connections using TLS encryption, protecting your data during transmission.
Easy Setup: No complicated configurations needed. Ngrok works by running a command-line application.
Flexible Deployment: Offers both free and paid plans, making it acessible to individual developers and teams.
Public URLs: Ngrok provides a unique public URL for your local server, allowing access from anywhere.
Webhooks and Integrations: You can configure Ngrok to receive webhooks and easily integrate it with other services.
Monitoring and Analytics: Ngrok provides insights into tunnel activity, including traffic details and session information.
Cross-Platform Support: Works seamlessly on Windows, macOS, Linux, and other operating systems.
Installation Guide
Step 1: Download Ngrok
- Visit the official Ngrok website: https://ngrok.com/download
- Click “Download” to get the zip file for your operating sysytem
Step 2: Extract the Files
Extract the dowloaded zip file to a folder of your choice (example: C:\ngrok on Windows).
Step 3: Add to PATH (Optional)
To use Ngrok from any folder:
- Windows: Press Win + X → System → Advanced system settings → Environment variables → Edit Path → Add your ngrok folder
Step 4: Authenticate your Account
- Sign up and log in at https://ngrok.com
- Copy the “authtoken” command from your dashboard
- Run in command prompt:
ngrok authtoken YOUR_AUTHTOKEN_HERE
Getting Started
Creating a Local Application
Here’s a simple .NET Core server example:
# Create new directory and navigate to it
mkdir dotnet-server
cd dotnet-server

# Create new web project
dotnet new web

# Program.cs
var builder = WebApplication.CreateBuilder(args);

// Configure the server to listen on localhost:8080
builder.WebHost.UseUrls("http://localhost:8080");

var app = builder.Build();

app.MapGet("/", async (HttpContext context) =>
{
    Console.WriteLine("Request received...");

    context.Response.ContentType = "text/html";
    await context.Response.WriteAsync("<h1>Hello world! Using Ngrok :D</h1>");
});

Console.WriteLine("Server started at: http://localhost:8080");
app.Run();
Run with: dotnet run
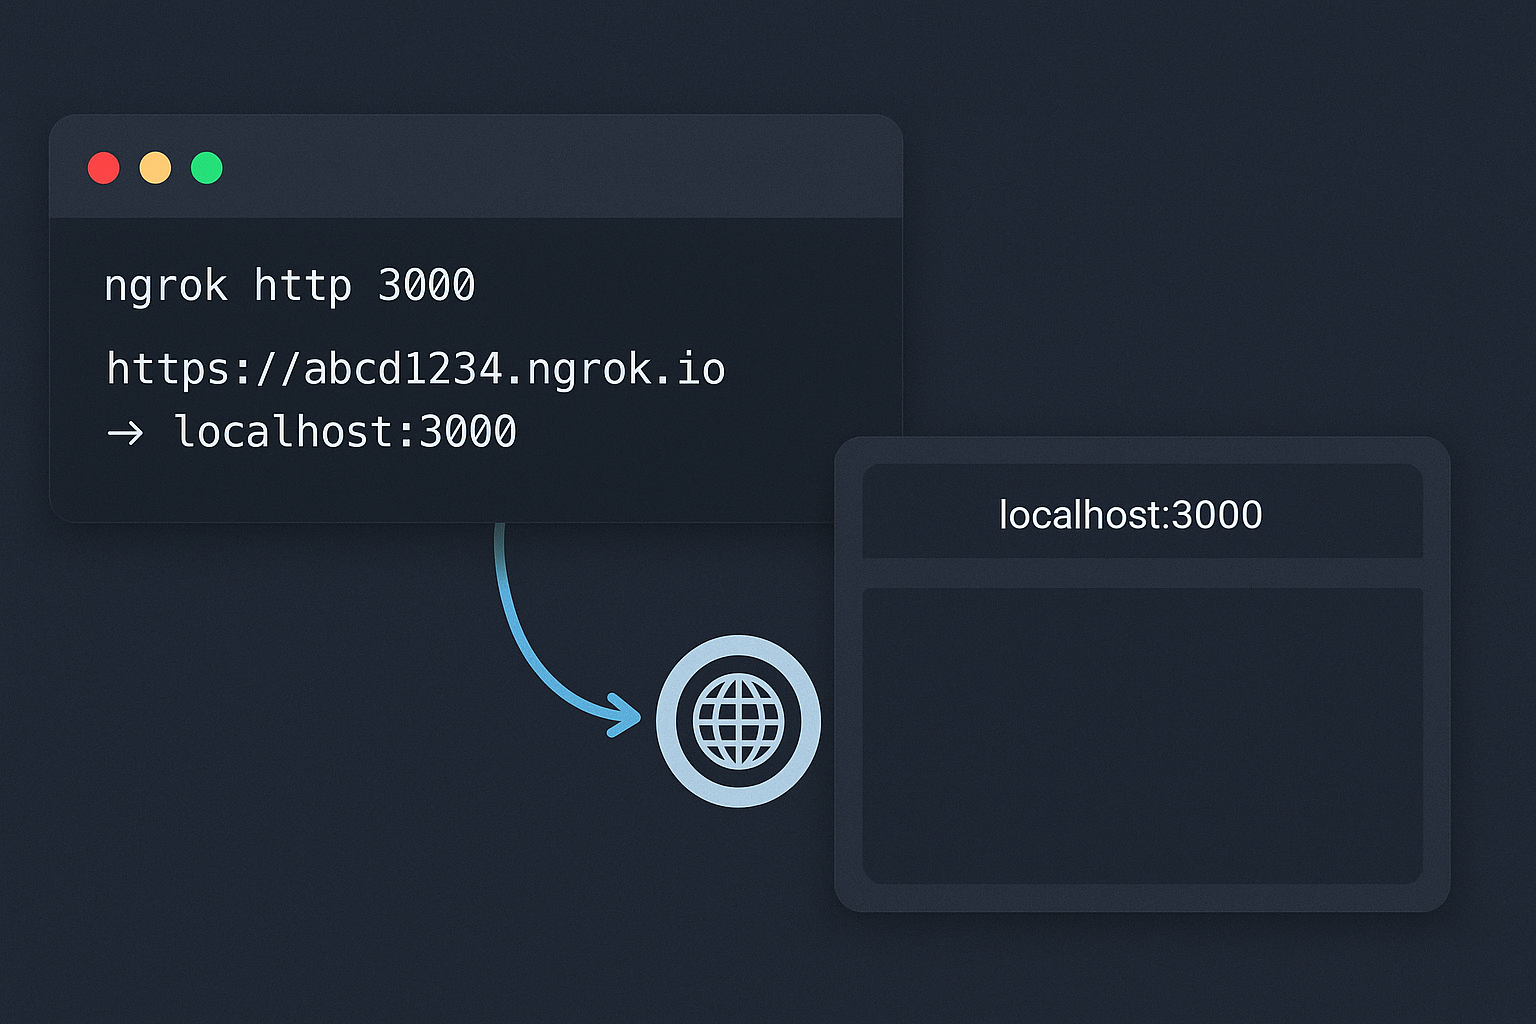
Starting the Tunnel
In the command prompt, create a tunnel to your local server:
ngrok http 8080Ngrok will provide a public URL like https://abcdef123456.ngrok.io that you can access from anywhere.
Advanced Features
Password Protection
Add HTTP authentication to your tunnel:
ngrok http -auth="user:password" 8080Traffic Inspection
Monitor requests and responses through your tunnel:
ngrok http --inspect 8080Then visit http://localhost:4040 to see the inspection interface.
Conclusion
Ngrok is a useful tool for creating secure tunnels and sharing local applications on the internet. With features like simple configuration, public URLs, and cross-platform support, it simplifies application development and demonstration.
By following the installation guide and exploring additional features like user and password protection and traffic inspection, you can make the most of Ngrok for your development needs.